Guides & How-To · 2026-04-14
Preparing Your Patio for Motorized Screen Installation
What we measure, what your opening needs structurally and electrically, and what installation day looks like — including planning recessed tracks in new construction.
Before the consultation: what we look at
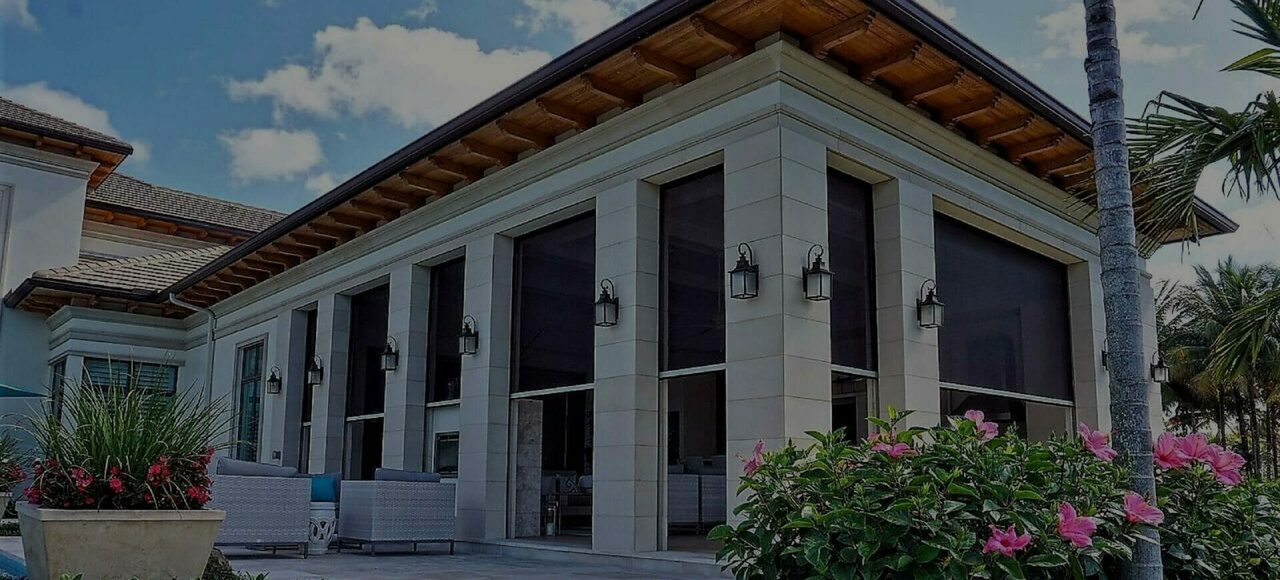
A motorized screen is only as good as the opening it lives in, so the consultation starts with the structure. We measure width and height at multiple points — openings are rarely perfectly square — check what the header, columns, and side surfaces are made of, and assess how level the floor runs. A floor that is out of level is not a dealbreaker: MagnaTrack systems handle up to four inches of variance, which covers most settled patios we see in older Fairfax and Arlington neighborhoods.
Think ahead about how you use the space, because it changes the design. Which openings should screen, and which stay open? Do you want insect mesh, solar fabric, or vinyl — or different fabrics on different sides? Where do you naturally reach for a light switch? That is usually the right spot for a screen control too.
Structure, power, and the recessed option
Two practical requirements come up on nearly every project. First, mounting: tracks and housing need solid attachment, and if your porch columns are wrapped in aluminum or vinyl cladding, we plan fastening into the structure beneath. Second, power: tubular motors need electrical supply at the housing. On existing patios an electrician typically adds a circuit or extends an outlet before installation day — we coordinate the requirements so your electrician knows exactly what and where.
If you are building or remodeling, raise screens with us early, because that unlocks the recessed installation: tracks let into the columns and the housing concealed in the ceiling framing, so with the screens retracted there is no visible track at all — the porch just has a clean opening until the screen appears. Recessed pockets cost little to frame during construction and are difficult to add afterward. Builders across Loudoun and Fauquier plan them with us during framing walkthroughs regularly.
Installation day and the first week
A typical residential installation runs a day, sometimes two for multiple large openings. The crew mounts tracks and housing, hangs and aligns the fabric, wires the motor, sets the travel limits so the screen stops precisely at open and closed, and programs your remotes, wall controls, and any app or smart-home integration. Before we leave, every screen cycles fully while you watch, and you operate everything yourself.
In the first week, live with the screens and pay attention: travel should stay smooth and quiet, and the bottom bar should seal consistently. Questions almost always surface after a few days of real use — about scene programming, sensor thresholds, or adding a screen to another opening — and we would rather hear them than have you wonder. You will also find the screens quickly change how you use the room; the most common follow-up call we get is to screen the openings that were skipped the first time.
Related products
Keep reading
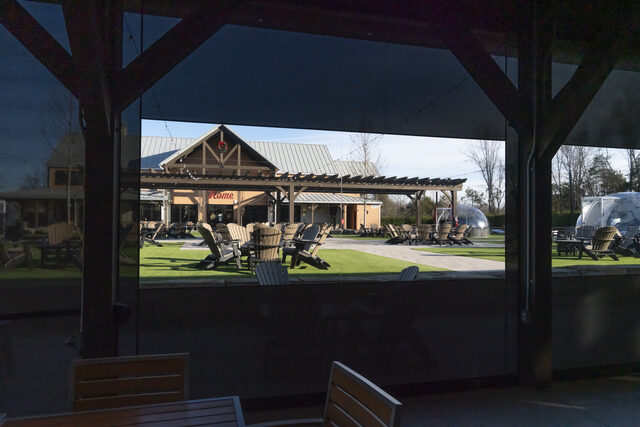
Motorized Screen Cost in Northern Virginia (2026): Typical Prices and the Best Systems
Typical installed costs for motorized retractable screens in 2026, what drives the price, and which system fits your patio. Your firm quote is free.
Read more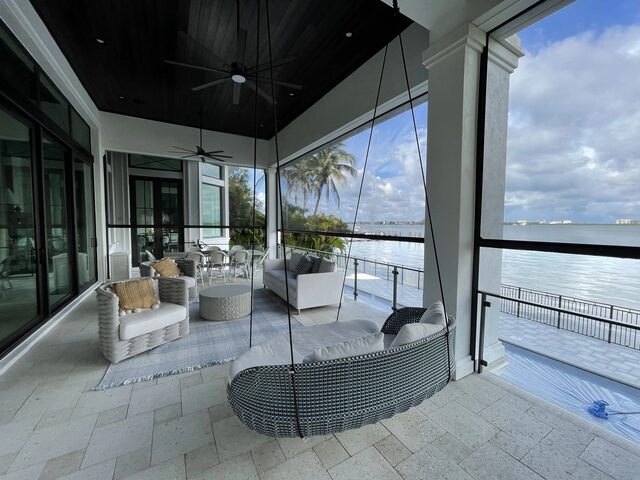
Inside the Roller: Tubular Motors and What Somfy, Gaposa, and Dooya Each Bring
The motor in a motorized screen or awning lives inside the roller tube itself. What that means, and how the motor brands we install differ on safety features and speed.
Read more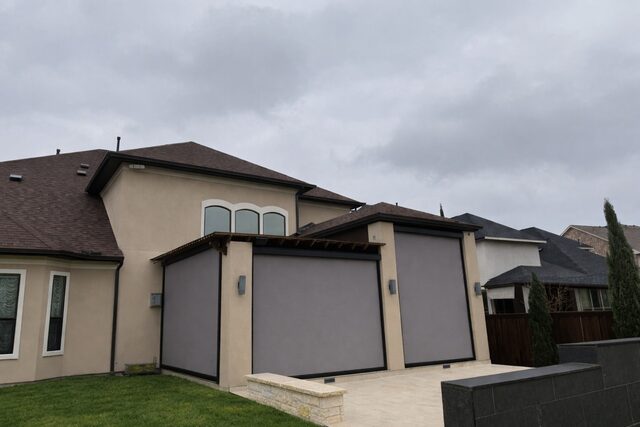
Your West-Facing Patio Doesn't Have to Be Unusable in July
Afternoon sun turns west-facing patios into ovens across the DC suburbs every summer. Solar mesh screens drop surface temperatures 15 to 25 degrees without giving up the view.
Read more